
The safest way to move a website to a new host is to provision the new server, restore a verified backup on a staging site, test everything, then flip DNS while keeping the old host live until propagation completes. That sequence, in that order, is what prevents downtime, data loss, and the SEO stumbles that come from rushing a cutover. Skip the staging test or kill the old host too early, and you're gambling with both.
TL;DR:
- Ensure all backups, including files and databases, are verified and restored on staging before the live migration to prevent data loss.
- Use a scheduled, well-tested cutover with DNS TTL lowered in advance to enable fast propagation and minimize downtime.
- Maintain a precise one-to-one redirect map and keep redirects active for at least a year to preserve search engine rankings.
- Confirm the new server supports your site’s PHP, database, and environment requirements, including SSL and external integrations.
- For complex, high-traffic, or mission-critical sites, consider managed migration support to handle technical challenges and reduce risk.
Table of Contents
- How Do You Move a Website to a New Host Safely?
- Backing Up Your Site: Files and Database Done Right
- Moving Files and Databases to Your New Server
- Coordinating Email, DNS, and SSL for Launch Day
- Staging, Testing, and the Launch-Day Checklist
- Protecting Your SEO: Redirects, Sitemaps, and Monitoring
- What to Check After Launch, and When to Roll Back
- Why a Performance Host Reduces Migration Risk
- An Engineer's Take: When to DIY and When to Get Help
- Managed Migration Support When You'd Rather Not DIY
- Sources
- FAQ
How Do You Move a Website to a New Host Safely?
Every successful migration starts with matching the new host to what your site actually needs, not what sounds impressive in a sales pitch. A brochure site running WordPress with a handful of plugins doesn't need the same infrastructure as a game server community handling thousands of concurrent connections.
Start with a checklist for hosting type:
- Shared hosting works for low-traffic blogs and portfolio sites with minimal database load.
- VPS hosting fits sites needing dedicated resources, custom software, or root access without the cost of a full dedicated server.
- Dedicated servers suit high-traffic sites, game servers, or anything sensitive to shared-resource contention.
- Managed hosting makes sense when you'd rather pay for expertise than troubleshoot server configuration yourself.
Before you sign up anywhere, confirm compatibility: does the new host support the PHP and database versions your CMS requires? Can you get SSH/SFTP access, and does the control panel (cPanel, Plesk, or a custom dashboard) support your cron jobs and any CDN integration you rely on?
Then build your pre-migration inventory. Pull a full list of URLs, note your CMS version and every active plugin or custom script, and confirm you still have access to Google Analytics and Search Console. This inventory becomes your baseline for verifying nothing broke after launch, a step Semrush's migration checklist treats as the single most important safeguard in the whole process.
Finally, lower your DNS TTL (time to live) a few days ahead of the move, and schedule a maintenance window during your lowest-traffic hours. Lowering your DNS TTL well ahead of the move means changes propagate much faster once you're ready to cut over.
Backing Up Your Site: Files and Database Done Right
A migration is only as good as the backup behind it. If your backup is incomplete or corrupted, everything downstream, staging, testing, launch, inherits that problem.
- Archive your files. Use cPanel's backup wizard to generate a full compressed archive, or connect via SFTP and pull everything with
taron the server side (tar -czvf backup.tar.gz /path/to/site) before downloading. Verify the archive with a checksum (md5sumorsha256sum) so you know the file that downloaded matches the file you created. - Export the database. Use phpMyAdmin's export function or run
mysqldumpdirectly for more control:mysqldump -u username -p database_name > backup.sql. Make sure the export includes table structure, data, user grants, and the correct character set and collation, mismatched collation is a common cause of garbled text after migration. - Store it offsite. Keep a copy somewhere other than the old server, cloud storage, a local drive, or both. A backup that lives only on the server you're about to decommission isn't a backup.
- Test-restore to staging. Before you touch production, restore both the files and database to a staging environment on the new host and confirm the site actually loads.
If your site carries a large media library, thousands of product images, years of blog uploads, don't try to tar the whole thing in one shot. Use rsync for incremental transfers that can resume if interrupted, and consider offloading media to object storage so future migrations don't require moving gigabytes of static files at all.
Pro Tip: Run your test restore on staging at least 48 hours before your planned launch window. That gives you time to catch a broken plugin or a missing file without the pressure of a live cutover clock.
Moving Files and Databases to Your New Server
With a verified backup in hand, the actual transfer is mechanical, but the details matter. Upload your files via SFTP or your host's file manager, and preserve the original directory structure and file permissions. WordPress installs, for instance, expect specific folders (wp-content/uploads, wp-content/plugins) to sit exactly where the CMS expects them.
Restore the database on the new server, then update your configuration file so the site knows where to find it. For WordPress, that means editing wp-config.php with the new database host, username, and password. Other CMS platforms use equivalent config files (Drupal's settings.php, Joomla's configuration.php), but the principle is identical: point the application at its new database credentials.
If your domain or folder path changed at all, run a search-and-replace across the database to fix hardcoded URLs. Tools like WP-CLI's search-replace command handle this safely for WordPress; for other platforms, a careful SQL UPDATE query or a dedicated migration plugin does the job.
Before you call it done, confirm the new server runs matching versions of PHP, any required modules, and the same runtime environment your site was built against. Then verify:
- Cron jobs are recreated and firing on schedule.
- Any background queues or scheduled tasks are running.
- External integrations, payment gateways, email service APIs, third-party widgets, are reconnected and authenticated.
Test everything on staging before launch: log in as an admin, submit a contact form, run a test transaction if you sell anything, upload an image, and check your error logs for anything that looks off. A blank error log is a good sign; a log full of database connection warnings means you're not ready.
Coordinating Email, DNS, and SSL for Launch Day
Email is the part people forget until it breaks. Decide early: are you migrating mailboxes to the new host, or leaving your MX records pointed at your current email provider (Google Workspace, Microsoft 365, or a dedicated mail host)? If you're moving mailboxes, back up all mail before you touch anything, losing years of email because you changed a DNS record is entirely avoidable.
- Lower your TTL at least 24 to 48 hours before cutover so the change propagates quickly when you're ready.
- Update A/AAAA records to point to the new server's IP address once staging tests pass.
- Leave MX records untouched unless you're actually migrating email, changing them unnecessarily is the single most common way sites lose incoming mail mid-migration.
- Issue and test your SSL certificate on the new server before cutover, confirming HTTPS loads cleanly when you access the site directly by IP or via a temporary hosts-file edit.
- Update CNAME records for any subdomains, and double-check none are still pointing at the decommissioned host.
Pro Tip: Edit your local hosts file to preview the new server before DNS propagates publicly. It lets you confirm HTTPS, forms, and page loads all work using your real domain, without any visitor seeing a half-migrated site.
Expired certificates and stale CNAMEs cause more post-migration outages than almost anything else on this list, so give this step the same scrutiny you gave the database restore.
Staging, Testing, and the Launch-Day Checklist
Staging exists to catch problems before real visitors do. Crawl your staging site with a tool like Screaming Frog and compare it directly against the URL inventory you built before migration, checking status codes, page titles, meta descriptions, and hreflang tags if you run a multilingual site.

Walk through every critical user journey by hand: account creation, checkout, contact form submission, any custom application logic your site depends on. Confirm third-party integrations still authenticate correctly and scheduled jobs are actually running, not just installed.
Before you flip the switch:
- Remove the
noindextag from staging so search engines can crawl the live version once it's public. - Confirm Google Analytics and Search Console are correctly configured for the new environment.
- Write down your rollback triggers in advance, what specific problems mean you revert, not troubleshoot live.
- Have your host's support contact and your developer's number both within reach during the cutover window.
This is also where the zero-downtime question comes up, and it's worth addressing directly: for most small and mid-sized sites, true zero downtime migration is an enterprise-grade approach built for environments running continuous, high-availability database replication. A short, well-communicated maintenance window accomplishes the same practical goal, an intact site with no data loss, at a fraction of the complexity.
Protecting Your SEO: Redirects, Sitemaps, and Monitoring
Redirect management is where most migrations lose rankings, and it's entirely preventable. Build a one-to-one redirect map, every old URL pointed at its exact new equivalent, before you launch, not after.
- Map every URL. Use your pre-migration crawl to list old paths, then match each one to its new destination. Generic redirects to a homepage or category page instead of the specific matching page waste the ranking signal that page had built up.
- Implement server-side 301 redirects, not JavaScript or meta-refresh redirects, which search engines treat with far less confidence. Avoid chaining redirects (A to B to C), since each hop dilutes signal and slows page load; redirect chains are one of the most damaging patterns in a migration.
- Update canonical tags, hreflang, and robots.txt to reflect the new domain or structure, then submit your new sitemap directly to Google Search Console.
- Keep the old sitemap live briefly alongside the new one. It helps Google discover your redirects faster during the transition, and redirects themselves should stay in place for at least a year to fully preserve link equity.
A temporary traffic dip is common in the days after migration, as search engines re-crawl and re-index the new URLs. It may take a few weeks before traffic normalizes, so give it sufficient time before treating a dip as a real problem. If traffic hasn't recovered by then, check Search Console's coverage report for crawl errors first, that's almost always where the answer is hiding.
What to Check After Launch, and When to Roll Back
The first 24 to 48 hours after launch are for verification, not celebration. Crawl the live production site the same way you crawled staging, and watch your server logs for spikes in 404 errors, which usually mean a redirect rule got missed somewhere in the map.
- Monitor Search Console daily for new crawl errors or a sudden coverage drop.
- Fix any broken redirects immediately rather than batching fixes for later.
- Watch server response times and error rates for the first week, not just the first day.
Roll back only for serious problems: confirmed data loss, a persistent outage your team can't resolve quickly, or SEO errors severe enough to tank indexed pages. If you hit that point, restore your pre-migration database snapshot, revert your DNS A records to the old host, and confirm the original site is fully functional again before you plan a second attempt.
Keep your redirects live for a full year regardless of how smooth the launch felt, and document every fix you make along the way. That documentation becomes the inventory you'll actually want next time you migrate.
Why a Performance Host Reduces Migration Risk
Migrations go wrong in the gaps, waiting on support tickets, missing file access, unclear backup ownership. Full file and root access means you're never blocked waiting on a support queue to make a configuration change mid-migration. Personal backups mean the rollback snapshot exists before you need it, not after something's already gone wrong.
For gaming communities and high-traffic applications specifically, DDoS protection and low-latency network placement matter as much during migration as after it. A server that gets hit with an attack during your DNS propagation window turns a routine cutover into a crisis.
A migration plan is only as reliable as the support behind it. Full file access and personal backups turn "call and wait" into "fix it yourself, right now," which is the difference between a two-hour hiccup and a two-day outage.
An Engineer's Take: When to DIY and When to Get Help
Small static sites, portfolios, brochure pages, a handful of blog posts, are genuinely fine to migrate yourself with an afternoon and a checklist. Anything running a database, handling payments, serving high traffic, or running a persistent game server deserves managed help or at least a second set of experienced eyes.
Zero-downtime setups sound impressive, but they're usually overkill outside enterprise database environments. A well-planned maintenance window beats a half-implemented zero-downtime attempt every time.
Three rules that prevent most migration disasters: never delete the old host until the new one's been stable for a week, always test-restore your backup before you need it, and never change MX records unless you're actually moving email.
— Conal
Managed Migration Support When You'd Rather Not DIY
If you'd rather hand the file transfers, DNS timing, and rollback planning to someone who does this daily, that's exactly the gap managed migration support closes. The provider pairs support with full file and root access and personal backups built into plans, so you're never stuck waiting on a ticket queue during a cutover window.
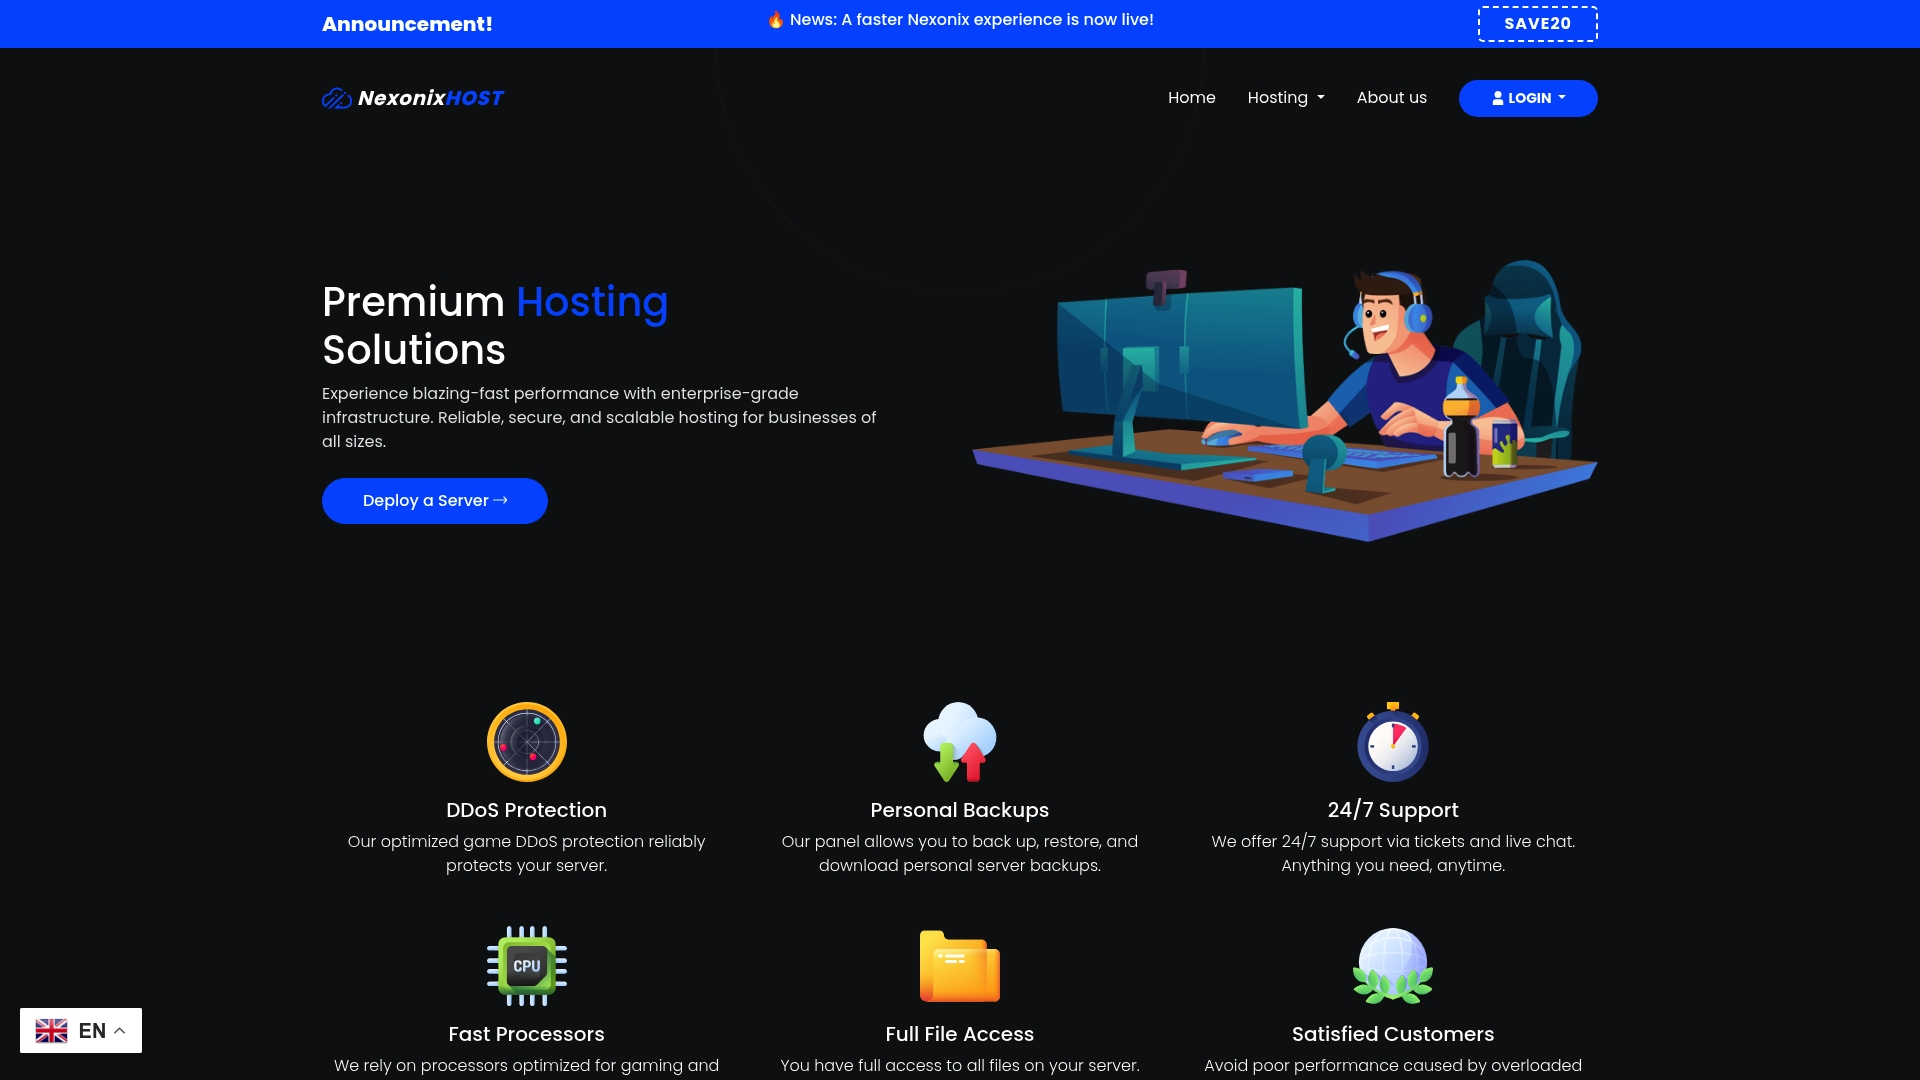
Community managers and small business owners get the most out of this: someone running a game server or an e-commerce storefront doesn't have time to troubleshoot a broken cron job at 2 AM. Network locations and DDoS protection keep performance steady before, during, and after the switch, which matters most for sites where downtime directly costs revenue or player trust. If you're planning a move and want it handled without the guesswork, reach out through the Nexonixhost site to talk through your current setup and get a migration plan scoped to your traffic and hosting type.
Sources
- What Is Zero Downtime Migration? | IBM
- The Complete Website Migration Checklist SEO-Friendly | Semrush
- Site Migration SEO Guide: Preserve Rankings & Traffic | Search Engine Land
- The Complete Website Migration Checklist | Backlinko
FAQ
Is It Hard to Move a Website to Another Host?
It's straightforward for small sites with a clear backup and staging test, but complexity rises fast with databases, custom integrations, or high traffic, which is when many owners bring in managed migration support.
How Much Does It Cost to Migrate a Website to a New Host?
Costs vary widely: a simple self-managed move costs nothing beyond your existing hosting plan, while managed migration assistance from some providers typically comes bundled with hosting plans rather than charged as a separate line item.
How Do I Change the Host of My Website?
Sign up with the new host, back up your files and database, restore them to a staging environment for testing, then update your DNS records once everything passes verification, keeping the old host active until propagation completes.
How Do You Migrate a Website Without Losing SEO Rankings?
Build a one-to-one 301 redirect map before launch, keep those redirects live for at least a year, update your sitemap in Search Console, and expect a temporary traffic dip that typically resolves within a few weeks.